

TL;DR:
- Most home decorating guides overlook the importance of a clear workflow, emphasizing trends over process.
- Beginning with a strong foundational layout and key pieces ensures accessories create cohesion rather than chaos.
- Following a step-by-step sequence, from foundation to wall art, helps achieve a stylish, personalized space effortlessly.
Trying to accessorize a room can feel overwhelming when you’re not sure what to do first, and one wrong choice can throw off your whole look. Most people don’t struggle because they lack taste or ideas. They struggle because nobody handed them a clear, repeatable process. This guide walks you through every step, from preparing your room’s foundation to hanging the last piece of wall art, so you can build a space that feels intentional, stylish, and completely yours. Whether you own your home or rent, these proven steps work in any space.
Table of Contents
- What you need before you start
- Step-by-step instructions for flawless accessorizing
- Mastering arrangement and layering: designer secrets
- Perfecting wall art and statement pieces
- What most guides get wrong about home accessorizing
- Ready to accessorize? Find your essentials at New Way Ref
- Frequently asked questions
Key Takeaways
| Point | Details |
|---|---|
| Foundation first | Always complete layout, furniture, and colors before adding accessories for best results. |
| Follow a proven sequence | Layer accessories in a clear order with textiles as the impactful finishing touch. |
| Master visual flow | Use designer layering and grouping tricks to transform any space from cluttered to stylish. |
| Size and scale matter | Choose accessory sizes and arrangements that anchor the room and avoid underscaled mistakes. |
| Personalize confidently | Lean into one bold starting point and swap or wait for pieces that truly add personality. |
What you need before you start
Before you buy a single throw pillow or decorative vase, your room needs a solid base. Think of it like painting a wall: the primer has to go on first, or nothing else sticks the way it should. Starting with what’s foundational — layout, color palette, and major furniture and lighting — before adding accessories prevents costly “already wrong” decisions that are hard to undo.
Here’s a simple way to think about it. There are two distinct layers in any room: the foundation and the accessories. Mixing them up is where most people go wrong.
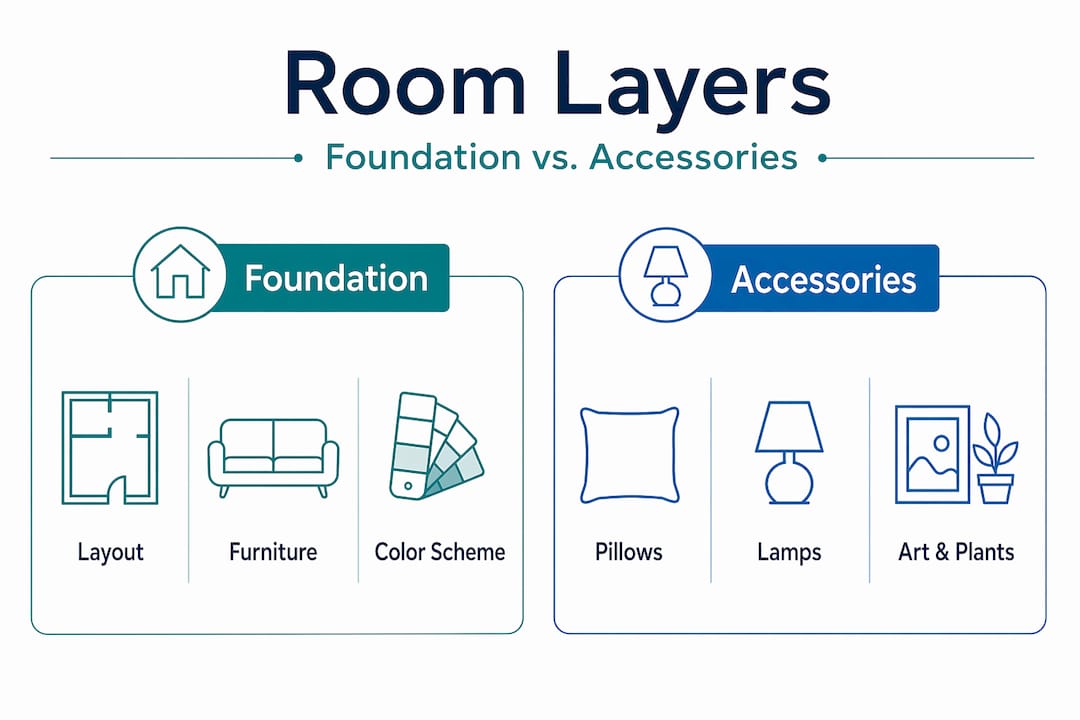
| Foundation layers | Accessory layers |
|---|---|
| Room layout and furniture arrangement | Throw pillows and blankets |
| Main furniture pieces (sofa, bed, table) | Decorative objects and vases |
| Color palette and wall color | Artwork and mirrors |
| Overhead and primary lighting | Table lamps and accent lights |
| Window treatments (curtains, blinds) | Plants, candles, trays |
Accessories have the highest style impact per dollar, but only when the base is already in place. A beautiful candle arrangement on a mismatched coffee table in a poorly laid-out room won’t save the space. But that same arrangement in a thoughtfully planned room? It pulls everything together.
Before you start shopping or rearranging, run through this checklist:
- Measuring tape. Know your room’s exact dimensions and the footprint of your major furniture.
- Painter’s tape. Use it on walls to preview art placement before hammering nails.
- A clear color palette. Identify two to three main colors and one or two accent shades.
- Your lease (if renting). Check what wall modifications are allowed before planning any hanging.
- A mood reference. A saved folder of rooms you love helps you recognize patterns in what appeals to you.
This step-by-step home decor guide can also help you map your full decorating workflow before you commit to any purchases.
Pro Tip: Before buying anything, spend five minutes writing down how you want your finished room to feel. Calm and minimal? Warm and cozy? Energetic and bold? That single sentence will help you filter out impulse buys and focus only on pieces that serve your vision.
Step-by-step instructions for flawless accessorizing
With your groundwork complete, it’s time for a clear, proven sequence. Follow these steps and you’ll avoid the most common mistakes people make when trying to style a room from scratch.
Step 1: Confirm your foundation is set. Your layout should be finalized, your major furniture placed, and your main color palette decided. Don’t skip this. Accessories added to an unresolved foundation will look random no matter how nice they are individually.
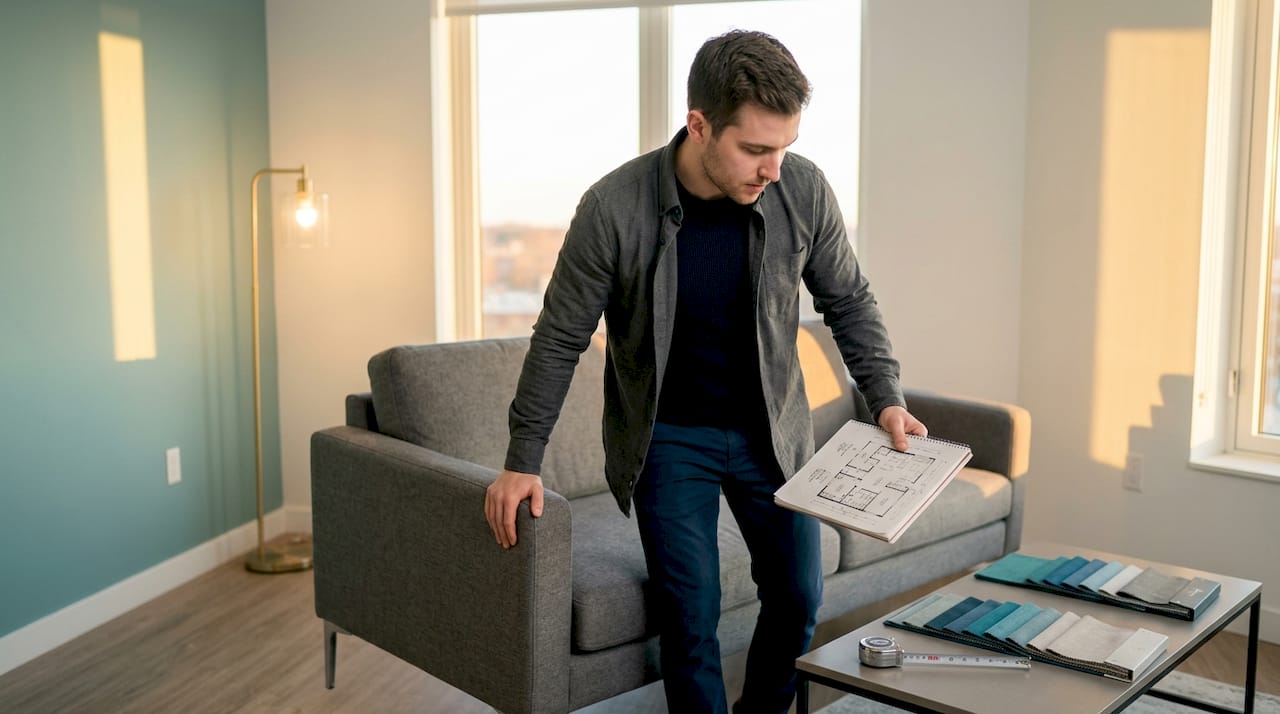
Step 2: Choose your anchor piece first. Pick one item that will lead all other decisions. This could be a large area rug, a statement piece of art, or even a bold sofa. Everything else in the room will relate back to this piece in terms of color, scale, and mood.
Step 3: Add your rug. The rug defines zones and anchors furniture. For most living rooms, scale mistakes are the biggest issue. An underscaled rug makes furniture look like it’s floating. Aim for at least an 8x10 in a standard living room, with front legs of all major seating pieces resting on it.
Step 4: Layer textiles next. Curtains, throw blankets, and pillows add softness and warmth. For renters, this step is especially powerful. These items require zero wall damage and can completely transform a room’s mood. Damage-free accessory choices like rugs, curtains, and throw pillows are consistently the highest-impact moves for lease-compliant decorating.
Step 5: Add functional accent pieces. Lamps, mirrors, and plants come next. These serve a purpose (light, reflection, life) while also adding visual texture and variety.
Step 6: Bring in decorative objects. Vases, books, sculptures, trays, and candles fill in the detail layer. Keep this step restrained. Less is almost always more at this stage.
Step 7: Hang wall art last. Once the room’s layers are established, you’ll have a much clearer sense of what kind of art suits the space.
Here’s how accessory types map onto the sequence:
| Accessory type | Sequence position | Category |
|---|---|---|
| Area rug | Step 3 | Foundational |
| Curtains and drapes | Step 4 | Foundational |
| Throw pillows and blankets | Step 4 | Layering |
| Mirrors and lamps | Step 5 | Layering |
| Plants and candles | Step 6 | Finishing touch |
| Art and decorative objects | Steps 6 and 7 | Finishing touch |
Explore modern home upgrade steps for more ideas on sequencing your decor in compact or urban spaces. And if warmth and coziness are your goal, check out this guide on layering and cozy interiors for expert layering techniques.
Pro Tip: Make your biggest, boldest choice first. Whether it’s a standout rug, a dramatic piece of wall art, or a striking lamp, lead with the item you’re most excited about. Let all smaller accessories respond to it. This eliminates decision fatigue and keeps the room from feeling like a collection of random purchases.
Mastering arrangement and layering: designer secrets
Once your accessories are in play, real style comes from the art of arrangement. This is where rooms go from “put together” to genuinely impressive. Designers don’t just place things. They build visual stories.
Layering through vignettes rather than scattering individual items creates depth and draws the eye through a space naturally. A vignette is a small, intentional grouping of two to five objects arranged together so they feel like a scene. Think of a tray on your coffee table holding a candle, a small plant, and a book. That’s a vignette. A candle on one side of the table and a plant on the other side is just two things placed near each other.
Here are the core designer-approved rules for arrangement:
- Group in odd numbers. Three or five objects are more visually dynamic than two or four.
- Vary height. Mix tall, medium, and low items in every grouping so the eye has somewhere to travel.
- Use the rule of negative space. Don’t fill every surface. Empty space is not wasted space. It’s breathing room that makes your edited choices stand out.
- Repeat one element. Color, material, or shape repeated across groupings creates cohesion without looking planned.
- Layer in front of and behind each other. Place taller items at the back, shorter ones in the front to create depth.
“Treat accessories as support layers that relate to the surrounding furniture and the negative space around them. The goal is a room that feels curated, not crowded.” — via Tidbits and Twine
For a practical framework, try the 3-4-5 rule. This means working with no more than 3 patterns, 4 style periods (such as modern, vintage, industrial, or natural), and 5 colors or textures. It sounds rigid, but in practice it frees you up. When you hit the limit on patterns, you stop overthinking. The boundaries make the decisions easier.
Before and after example: Imagine a bookshelf with five books laid flat, a small clock placed dead center, and two identical candles on either side. It looks symmetrical but lifeless. Now rearrange: stack two books vertically on the left with a small plant in front of them, lean one book against the back wall on the right, and place a single candle with a rounded vase at varied heights in the center. The same items, arranged with height variation, odd numbers, and layered depth, become a designer-quality vignette.
For more on making accessories work together without clashing, this guide on how to mix accessories cohesively offers practical advice. And for lighting as an accessory layer, layered lighting for style is worth reading before your next shopping trip.
Perfecting wall art and statement pieces
No room feels finished without wall art or a bold focal point. This is also where most people freeze. Getting it right comes down to a simple numbered process.
1. Measure your wall space first. Before choosing any art, note the width of the wall or the piece of furniture it will hang above. Art above a sofa, for example, should span roughly two-thirds the sofa’s width. This is one of the most common proportion mistakes, and sizing art to anchor the room rather than just fill empty space makes a dramatic difference.
2. Choose your layout based on the wall’s size and story. For wall art specifically, the main layout options are a single large piece, a symmetrical grid of matching frames, or an organic gallery wall with mixed sizes and styles. A single large piece works best on a prominent, uninterrupted wall. A gallery wall suits longer hallways or large living room walls where one piece would look undersized.
3. Use painter’s tape to mock up placement. Cut tape to the size of each frame and stick it on the wall before drilling anything. Stand back. Live with the mock-up for a day if you can. This step alone saves hours of regret.
4. Hang at the right height. Most art looks best when its center hits between 57 and 60 inches from the floor. This places it at average eye level and gives the room a grounded, intentional feel.
5. Relate art to adjacent furniture. Art above a console table should sit 6 to 10 inches above the tabletop. Art above a sofa follows the two-thirds width rule and hangs 8 to 12 inches above the back of the sofa.
6. Use removable strips for renter-safe hanging. Command strips and removable adhesive hooks hold lightweight to medium frames without wall damage. Always check the weight limit on the package.
This guide on wall art arrangement goes deeper on choosing art that tells your story. For furniture-specific help, living room setup tips shows how to connect art placement with the rest of your room’s setup.
What most guides get wrong about home accessorizing
Most guides focus on trends. They show you 10 must-have items for 2026, tell you what color is in this season, and send you straight to a shopping cart. The problem? A room styled around trends rather than a personal, patient process almost always ends up feeling generic or dated within a year.
The real gap isn’t ideas. It’s workflow and patience. Accessorizing well is a slow build, and that’s actually a strength. The best-looking homes we see weren’t finished in a weekend shopping sprint. They evolved. Pieces were added, moved, swapped, and removed over months.
We call this the “slow decorating” mindset. You start with less than you think you need, live in the space for a few weeks, and let the room tell you what’s missing. That pause between steps is not procrastination. It’s research. You start noticing things: the light changes at 4pm and warms a certain corner, or the shelf feels too heavy on one side. Those observations guide your next purchase far better than any trend list.
Your first big choice should always lead. Whether that’s a rug, a piece of art, or a statement light fixture, one strong anchor makes every subsequent purchase easier to evaluate. Does this pillow relate to the rug? Does this lamp suit the art? The anchor becomes your filter. Without it, you’re making every decision in a vacuum.
This urban home decor workflow shows how this plays out across different room types and living situations.
Pro Tip: Live with less for a month before deciding what’s missing. One well-chosen accessory will tell you more about your space than ten impulse purchases ever will.
Ready to accessorize? Find your essentials at New Way Ref
You now have the full workflow. Foundation first, anchor piece second, textiles and functional accents next, then decorative objects, and finally wall art. Following that sequence means every purchase you make from here has a clear purpose in the room.
At New Way Ref, you’ll find a thoughtfully curated range of home accessories, lighting, and decor designed to fit every phase of this process. Whether you’re searching for the statement rug that anchors your living room or the final decorative touches that pull your shelf vignette together, the collections are built for modern homes and real budgets. Free shipping on orders over $50 means you can stock up on finishing-touch pieces without the extra cost. Explore curated home essentials and shop each step of your accessorizing journey with confidence.
Frequently asked questions
What’s the best order to add accessories when decorating?
Finish your room’s layout, major furniture, and main color choices first, then add accessories and textiles for the greatest impact. Starting with foundational layers prevents “already wrong” decisions that accessories can’t fix.
How can I mix accessories without making my space look messy?
Use the 3-4-5 rule — no more than 3 patterns, 4 style periods, and 5 colors or textures — and cluster items as vignettes with varied height and intentional spacing.
Is there a rug size that works best for most living rooms?
Start with an 8x10 as a minimum for a sofa-plus-chairs setup. A 9x12 is usually better for fully anchoring the space and keeping furniture from looking like it’s floating.
How do renters add style without risking their deposit?
Opt for removable and portable accessories like rugs, curtains, throw pillows, plants, and mirrors. These items deliver instant style impact without touching your walls.
How high should I hang wall art?
Most art looks best when the center is at eye level, roughly 57 to 60 inches from the floor. Hanging at eye level grounds the piece and makes the room feel more intentional and finished.